Abstract
Apache2 is an open sourced http server project, which is widely used in plenty of websites and service. This article will record how to install and configure apache2 and enable https on Ubuntu, and commonly used commands will be listed as well.
Part 1. Install and test apache2
Step 1. Install apache2
Install apache2 with command below:
sudo apt install apache2Step 2. Enable 80 port of the firewall
Use ufw to enable 80 port, which will be used to test default website on 80 port:
sudo ufw allow 80Notice: For using ufw, please see my another article:
Step 3. Test default website
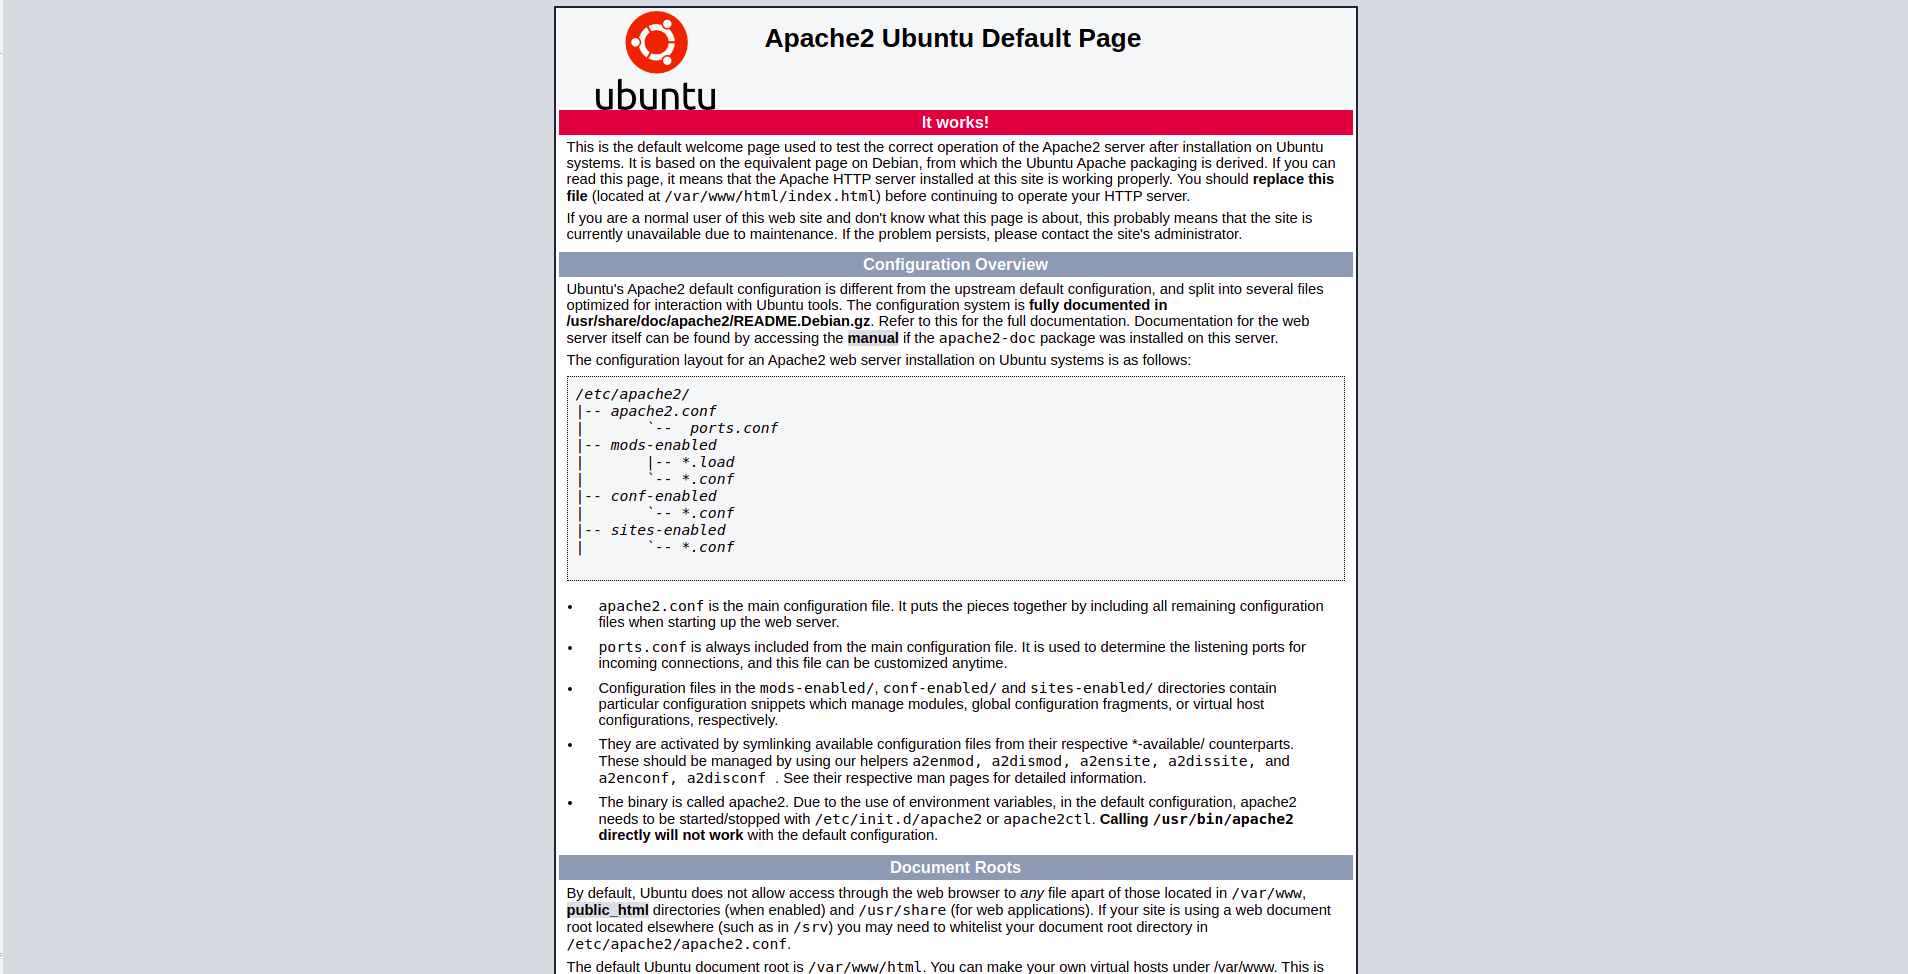
Access http://127.0.0.1/ in browser to test default website. If the apache2 installed successfully, the default website for apache2 will be shown like this:

Part 2. Configure apache2 on ubuntu
Before configure a website with an example, let us understand the file structure of the apache2 installed path “/etc/apache2/” first:
/etc/apache2/
├── apache2.conf	# Main settings for apache2, rarely modified.
├── conf-available
├── conf-enabled
├── envvars	# Environment variables for apache2, rarely modified.
├── magic
├── mods-available  # Installed apache2 modules, not running modules.
├── mods-enabled          # Enabled apache2 modules, running modules.
├── ports.conf	          # All the listening ports are in this file.
├── sites-available	      # All virtual host configuration files.
└── sites-enabled  # Enabled and running virtual host configurations.
Now we will configure an website with virtual host as an example. Assume a service has been deployed on 9264 port, and we want to access the service with the website http://service.example.com/, which the domain service.example.com has been resolved to the ubuntu server through the A record. We can configure a new .conf file with virtual host and enable it to achieve this.
Step 1. Create a new configuration file
Create a new configuration file named “service.conf” in “/etc/apache2/sites-available/”:
~$ cd  /etc/apache2/sites-available/
/etc/apache2/sites-available$ sudo vim service.conf
Step 2. Edit the configuration file
Edit the file with codes below:
<VirtualHost _default_:80>     # Create a virtual host listen 80 port.
    Servername service.example.com                      # Domain name.
    ProxyPass / http://localhost:9264/	# Forward access to port 9264.
    ProxyPassReverse / http://localhost:9264/
                                # Forward reverse access to port 9264.
    ProxyPreserveHost On
</VirtualHost>
Save the file and exit.
Step 3. Enable the site and reload apache2
Enable the site with following command:
sudo a2ensite service.confFollow the guide to reload apache2:
sudo systemctl reload apache2Notice: The apache2 is required to be reload when any file in the apache2 is modified, sometimes even required to restart the apache2 if the restart notice is shown in terminal.
After this, the service can be accessed with the website http://service.example.com/.
Step 4. Enable ssl module and restart apache2
To improve the safety of access the service, we can enable the https (default on 443 port). Before that, enable the ssl module with following command:
sudo a2enmod sslIf success, the notice will say restart the apache2 service:
sudo systemctl restart apache2Check the “/etc/apache2/ports.conf”, the 443 port is listened as default as usual. If not, add “Listen 443 https” in the file and reload the apache2.
Step 5. Enable https for the virtual host
Before modify the virtual host configuration file, a SSL certificate is required for the domain. To apply a free SSL certificate, please see my another article:
Modify the configuration file and add the virtual host for listening 443 port and enable SSL verification:
<VirtualHost _default_:443>   # Create a virtual host listen 443 port.
    Servername service.example.com
    SSLEngine on                                         # Enable SSL.
    SSLCertificateFile /path/to/certificate/file
    SSLCertificateKeyFile /path/to/certificate/key/file

    ProxyPass / http://localhost:9264/	# Forward access to port 9264.
    ProxyPassReverse / http://localhost:9264/
                                # Forward reverse access to port 9264.
    ProxyPreserveHost On
</VirtualHost>
Save and exit the file, and reload the apache2:
sudo systemctl reload apache2Step 6. Enable the 443 port on firewall with ufw
Enable 443 port in the firewall with ufw:
sudo ufw allow 443After this we can access the service with the website https://service.example.com/.
Part 3. Commonly used commands
Switch of the service
sudo systemctl start apache2		# Start apache2 service
sudo systemctl stop apache2		# Stop apache2 service
sudo systemctl reload apache2		# Reload apache2 service
sudo systemctl restart apache2		# Restart apache2 service
Enable/Disable virtual host configuration
sudo a2ensite <.conf file>
sudo a2dissite <.conf file>
Enable/Disable apache2 module
sudo a2enmod <module name>
sudo a2dismod <module name>